
Add Apple Pay and Google Pay
Adding Apple Pay and Google Pay is a simple, high-leverage way to reduce signup friction. By letting users pay with a single tap or click using their pre-saved card details, you remove the tedious step of manually entering credit card numbers and addresses. This small change can have a direct impact on your conversion rate, especially for mobile users who are more likely to abandon a purchase if the checkout process is complicated.
- Effort
- Low
- Cost
- None
- Time to first result
- A few days
- Best for
- SaaS, Apps, E-commerce
Save this strategy and send it to my inbox
Get the full playbook - scripts, tool stack and checklist - delivered as a single email you can act on today.
No spam. One email, and only what is worth reading.
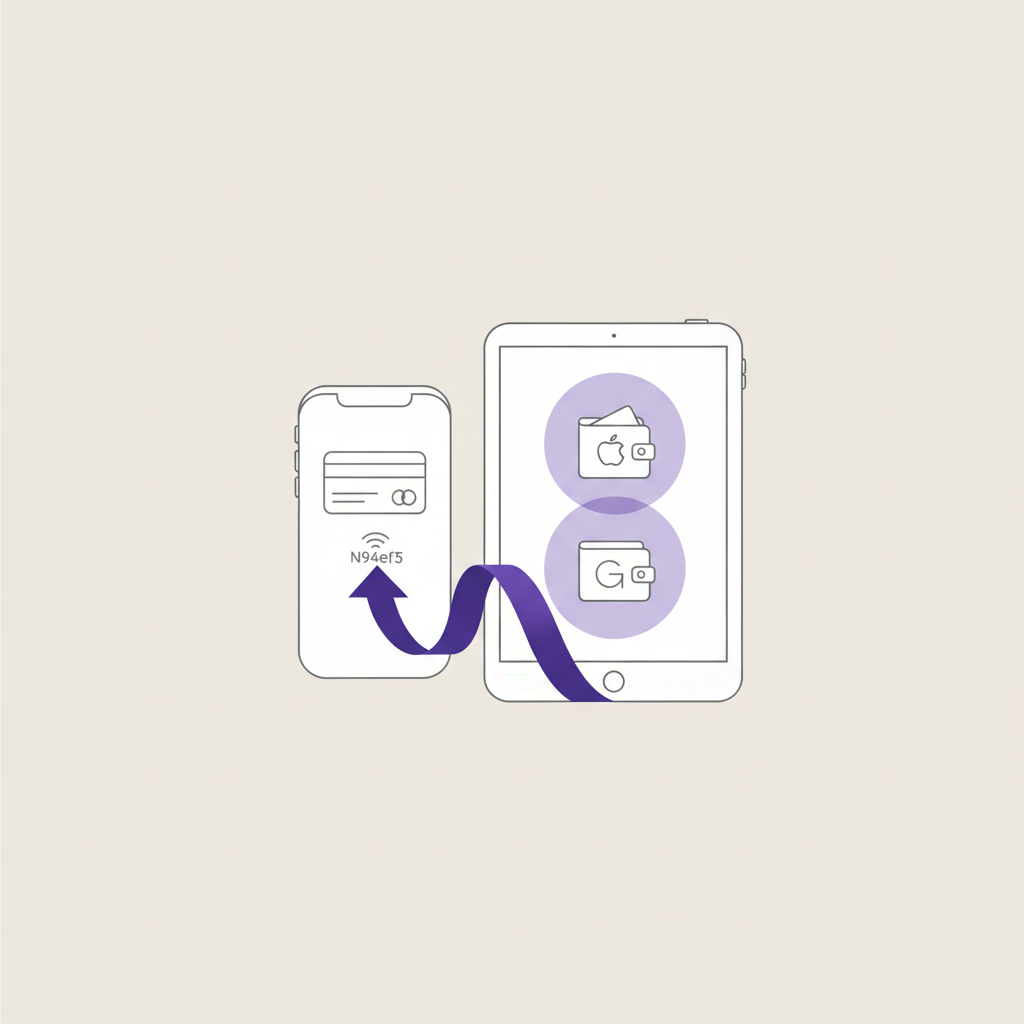
Why This Works: The Psychology of One-Click Payments
The single biggest enemy of conversion is friction. Every field a user has to fill out, every number they have to type, is a chance for them to get distracted or change their mind. Apple Pay and Google Pay remove the most friction-filled part of the checkout process: payment and address entry. By leveraging the information already securely stored on a user's device, you turn a multi-step, error-prone task into a single, satisfying biometric authentication.
These payment methods also act as a trust signal. Users are familiar with the Apple Pay and Google Pay brands and trust them to handle their sensitive information securely. This is especially critical on mobile, where users are often multi-tasking and have less patience for clunky forms. A native, one-tap payment experience feels seamless and secure, meeting user expectations for how a modern mobile app or site should work.
Three real examples
Instacart increases checkout conversion
Instacart, the grocery delivery giant, implemented Apple Pay to streamline its mobile checkout process. Before, users had to manually enter their credit card and address information. By adding Apple Pay, they enabled a one-touch payment option that significantly reduced the time and effort required to complete a purchase, leading to a notable lift in their mobile checkout conversion rate.
Source: TechCrunchBooking.com speeds up checkout with Google Pay
For Booking.com, speed and simplicity are critical. They integrated Google Pay to allow users to book accommodations without needing to re-enter payment and shipping information. The result was a checkout process that was four times faster, creating a much smoother experience for travelers booking on the go.
Source: Google Pay Case StudyReaddle boosts mobile subscription conversions
Readdle, the makers of popular productivity apps like Spark and PDF Expert, use Paddle as their payment backend. By offering Apple Pay through Paddle, they provide a seamless, native subscription experience for their millions of iOS users. This removes the need for users to pull out a credit card, making it easier to upgrade to a premium plan directly within the app.
Source: PaddleAccording to Stripe, businesses that enable express payment options like Apple Pay and Google Pay see an average revenue uplift of 11.9%.
The step-by-step playbook
- 1
Step 1: Choose Your Payment Provider
Most modern payment processors like Stripe, Paddle, or Braintree support Apple and Google Pay out of the box. If you're already using one, you're halfway there. If not, choose one that fits your business model (SaaS, e-commerce, etc.).
- 2
Step 2: Enable Payment Methods
Log in to your payment provider's dashboard. Navigate to the payment methods settings and simply toggle on Apple Pay and Google Pay. This usually requires accepting their terms of service.
- 3
Step 3: Verify Your Domain
Apple Pay requires you to verify ownership of the domain where you'll be showing the payment button. This is a simple process where you upload a file to a specific URL on your site, which is then checked by Apple via your payment provider.
- 4
Step 4: Add the Payment Button to Your Frontend
Your payment provider will offer a 'Payment Request Button' or equivalent component. This special button automatically detects if the user has Apple Pay or Google Pay enabled and displays the appropriate option. Use their official documentation to add this to your checkout page.
- 5
Step 5: Configure Backend Logic
When a user pays, your frontend receives a payment token. Your backend code needs to be set up to receive this token and use it to create a charge or subscription via your payment provider's API. This is the same flow as a regular credit card payment, just with a different token source.
- 6
Step 6: Test in a Live Environment
These payment methods often don't work in a local development environment (localhost). You'll need to deploy to a staging or production URL to test the full flow. Use test card details provided by your payment processor and test on a real device (an iPhone for Apple Pay, an Android for Google Pay).
- 7
Step 7: Announce the New Feature
Once it's live and tested, let your users know! Announce it via email, in-app messages, or a blog post. Highlight the benefit: 'Now you can sign up with a single tap!'
Copy-Paste Template: The Ask for Your Dev Team
Here's a simple email you can send to your developer or agency to get this project started. It clarifies the goal and points them to the right resources.
Subject: New task: Add Apple Pay & Google Pay to checkout

Hi {Developer_Name},

Let's prioritize adding Apple Pay and Google Pay to our signup/checkout flow.

The goal is to reduce friction for new customers, especially on mobile, and hopefully boost our conversion rate. It should be a single-click experience for users who have it set up.

We're using {Your_Payment_Provider}, and they have documentation for their Payment Request Button here: {Link_to_Provider_Docs}

Can you please take a look and let me know what the level of effort would be? We should also make sure to track the impact on our checkout conversion rate in {Your_Analytics_Tool} once it's live.

Thanks,
{Your_Name}
What to Ask Before You Start
- Which payment provider are we using, and does it support Apple/Google Pay easily?
- Where is the highest friction point in our current signup flow?
- What percentage of our traffic is from mobile Safari (for Apple Pay) and mobile Chrome (for Google Pay)?
- How will we A/B test the impact of this change on our conversion rate?
- Does this require any changes to our privacy policy or terms of service?
The most important questions are about your mobile traffic share and how you'll measure the impact. Don't ship a feature if you can't tell whether it worked.
Recommended tools
Stripe
Standard processing feesThe industry standard for online payments. Their documentation and libraries make implementing Apple Pay and Google Pay straightforward. The 'Payment Request Button' element handles most of the frontend complexity for you.
june.so
Starts from $25/moAfter you launch, you need to know if it's working. Use June to analyze your product analytics and instantly see the impact on your activation and conversion rates.
Tally.so
Free plan availableA simple and free form builder. Before you build, you could use Tally to survey your existing users about their payment preferences to validate the need.
Paddle
Usage-based pricingAn excellent choice for SaaS, especially if you need to handle global sales tax and compliance automatically. They offer seamless support for Apple Pay.
Prices are indicative and change - check the vendor before buying.
Do it faster with AI Prompts
Generate frontend code
Using HTML and plain JavaScript, write the code for a checkout page that includes a Stripe Payment Request Button. It should initialize Stripe with a test publishable key, check if the user can make a payment, and then mount the button. When the button is clicked, it should create a payment request for $10.00 USD and handle the resulting payment method token by logging it to the console.
Write user announcement email
Act as a SaaS founder. Write a short, enthusiastic email to my user base announcing that we now support Apple Pay and Google Pay for signing up and upgrading. The subject line should be catchy. The tone should be friendly and focus on the user benefit of speed and convenience.
Create A/B test plan
I'm adding Apple Pay and Google Pay to my SaaS pricing page. Outline a simple A/B test plan to measure its impact. What is the hypothesis? What is the primary metric I should track? What user segments should I analyze? How long should I run the test?
Mistakes that kill this play
- Only testing on a desktop. The primary beneficiaries are mobile users. You must test the entire flow on a real iPhone (for Apple Pay) and Android device (for Google Pay).
- Poor button placement. Don't hide the Apple/Google Pay buttons behind a 'more options' link. Place them prominently and above the traditional credit card form.
- Not handling errors gracefully. What happens if a payment fails? Make sure you show a clear, user-friendly error message that prompts them to try again or use another method.
- Forgetting to announce it. Your existing users and visitors won't know about the new, easier way to pay unless you tell them. A simple 'Now with Apple Pay!' banner can go a long way.
- Implementing it on product pages. Apple Pay and Google Pay are for checkout, not for adding items to a cart. Implementing them too early can disrupt the user's shopping journey if they expect to buy immediately.
- Ignoring analytics. You must track your checkout conversion rate before and after implementation. Without data, you're just guessing at the impact.
Your First 5 Days
- Day 1: Setup & Configuration. Choose your payment provider (if you don't have one). In their dashboard, enable Apple Pay and Google Pay and verify your website domain.
- Day 2: Frontend Implementation. Using your provider's docs, add the 'Payment Request Button' to your checkout page. Get it showing up correctly on a staging server.
- Day 3: Backend & Testing. Wire up your backend to handle the payment token from the new button. Deploy to staging and run end-to-end tests using a real iPhone and Android device.
- Day 4: Launch & Announce. Deploy the changes to production. Send out an announcement email to your user list and consider adding a temporary banner or tooltip to your pricing page.
- Day 5: Monitor. Watch your analytics closely. In your analytics tool (like June.so), compare the checkout conversion rate for this week against the previous week. Look for any bug reports or user feedback.
Save this strategy and send it to my inbox
Get the full playbook - scripts, tool stack and checklist - delivered as a single email you can act on today.
No spam. One email, and only what is worth reading.
More Level 1 hacks
Video testimonials from customers
Best testimonials there are!
Upgrade button
Highlight the ‘upgrade’ button in your product.
Submit URL to directories for free traffic
Add your URL to directories.
Survey customers
Simply ask your customers.
Testimonials
Use testimonials on your website.
Testimonials on pricing page
Underrated way to remove doubts.